How to Use nbdev
What is nbdev
nbdev is a python tool developed by fastai to streamline your developemnt with Jupyter Notebook. Its main features are:
- You write your codes, documentation, and test cases all in notebooks.
- nbdev exports the code parts of notebooks into python scripts, build them into a package, and upload the package to PyPI or Anaconda.
- nbdev converts the documentation parts of notebooks into a website and host the website on Github Pages.
- nbdev does unit testing by running your test cases
- nbdev makes Jupyter Notebook Git friendly. It solves all the problems when using Jupyter Notebook with Git.
- nbdev allows you to set up Actions on Github to support continuous integration
Now you know what nbdev is and the benefits of using nbdev, let’s see how to use it.
Install nbdev
Before you can use nbdev, you need to install it. If you use conda, type
conda install -c fastai nbdevIf you use pip, type
pip install nbdevCreate a Github Repo
Using Github is not required to use nbdev. If you don’t use Github, you can skip this step.
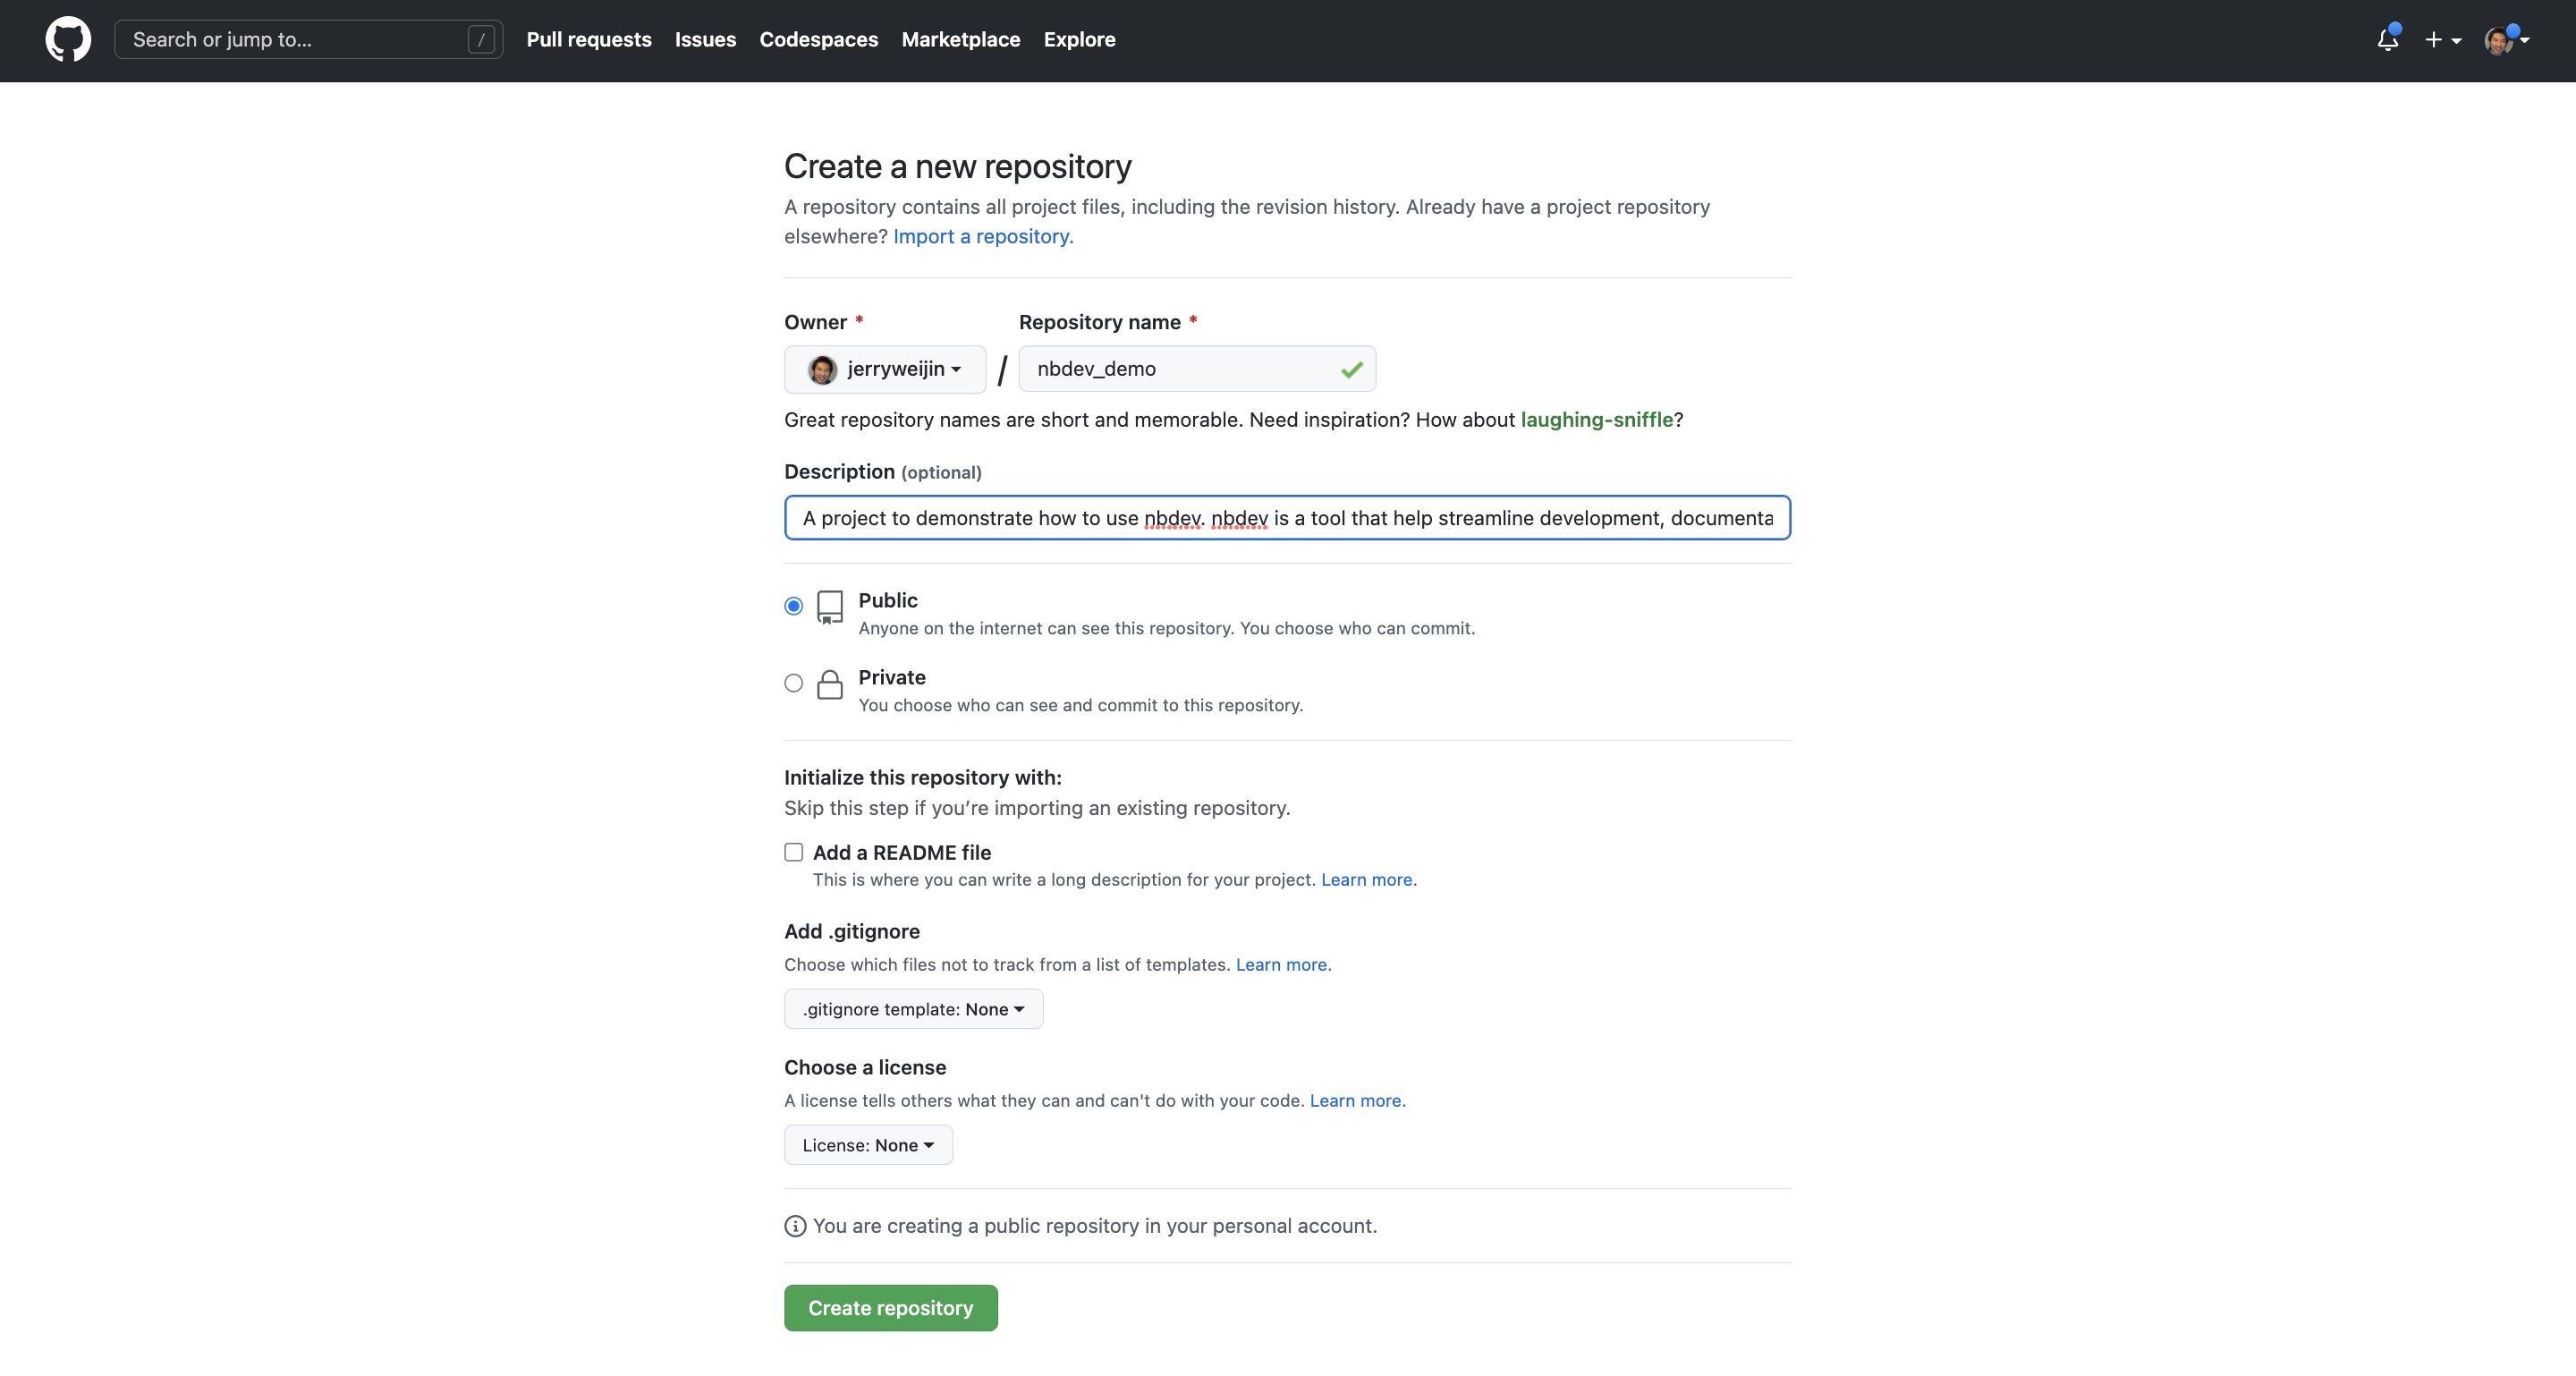
Go to your Github account and create a new repo. I created a repo called nbdev_demo for this tutorial. You don’t need to check the Add a README file checkbox as nbdev will create the README file for you.

Your repo is now empty

Clone Your Repo
Next you clone the repo to your computer. I used Github Desktop as I prefer a GUI interface. You can also use the command line to clone the repo.

Initialize the Project with nbdev
Aftering cloning the repo, the next thing to do is to initialize the project with nbdev. Go to the repo
cd nbdev_demoand run
nbdev_newnbdev will add some files to your repo.

The nbs folder stores all your notebooks. nbdev creates a folder with the same name as your repo. In my case, the folder is called nbdev_demo. This folder stores all the python scripts that are exported from the notebooks. The _proc folder stores the documentation files for your site (e.g. html files) that are generated from your notebooks using Quarto. settings.ini and setup.py are used to generate your python package. You can also see that nvdev adds a README file and a LICENSE file for you.
After running nbdev_new, I usually run nbdev_install_hooks right after because I know I will be using Git.
nbdev_install_hooksYou can think of hooks as an extension to nbdev. Jupyter notebooks are not Git friendly. Git is designed to use with plain text files. Jupyter Notebook uses JSON as its format. When using Jupyter Notebook with Git, there will be some problems. Citing from the nbdev official website, here is what hooks do for you:
- Fix broken notebooks due to git merge conflicts so that they can be opened and resolved directly in Jupyter.
- Each time you save a Jupyter notebook, automatically clean unwanted metadata to remove unnecessary changes in pull requests and reduce the chance of git merge conflicts.
- Automatically trust notebooks in the repo so that you can view widgets from collaborators’ commits. For this reason, you should not install hooks into a repo you don’t trust.
Make Your First Commit
Now your repo is set up. We can make the first commit and push to Github.

Navigate to the Action tab and you should see two workflows have been executed. These workflows are added by nbdev to help continous integration.

nbdev hosts your documentation site on Github Pages. To enable Pages for your project, go to Settings and click Pages from the left menu. Select the branch gh-pages and save the change.

You should see another workflow has been executed.

You can check your documentation site on [your_username].github.io/[your_repo_name]

Install Your Package
If your project consists of multiple python scripts, you probably want to import them into your notebooks. To do that install your package using the editable mode.
pip install -e '.[dev]'That way when you change your source files, you don’t need to reinstall the package. Simply restart the notebook kernal to see the changes take effect.
Make Your First Edit
Now it is time to do development on the notebooks. To demonstrate, I have updated the foo function in 00_core.ipynb to print out Hello World and called this function in index.ipynb.

Then commited and pushed to Github. You can see the site was updated.

Checking on the Action tab, there was a worflow failed to execute. What was wrong?

Run nbdev_prepare Before Every Commit
To avoid the error, remember to run nbdev_prepare before every commit. nbdev_prepare bundles 4 things for you. The error was caused by not clearning the notebooks.
- nbdev_export: Builds the .py modules from Jupyter notebooks
- nbdev_test: Tests your notebooks
- nbdev_clean: Cleans your notebooks to get rid of extreanous output for Github
- nbdev_readme: Updates README.md from your index notebook.
After running nbdev_prepare, all workflows were successfully executed.

Learn More
nvdev provides a lot more features than what I can cover in this tutorial. For more info, check out nbdev’s documentation website.